

Shopify Merchants: Add the Medpaid HSA/FSA Badge to Your Eligible Products
Create a simple meta field definition that interacts with Medpaid's back office. Eligible products automatically display the tag—no manual application needed!
Set Metafield Definition to Display HSA/FSA Badge

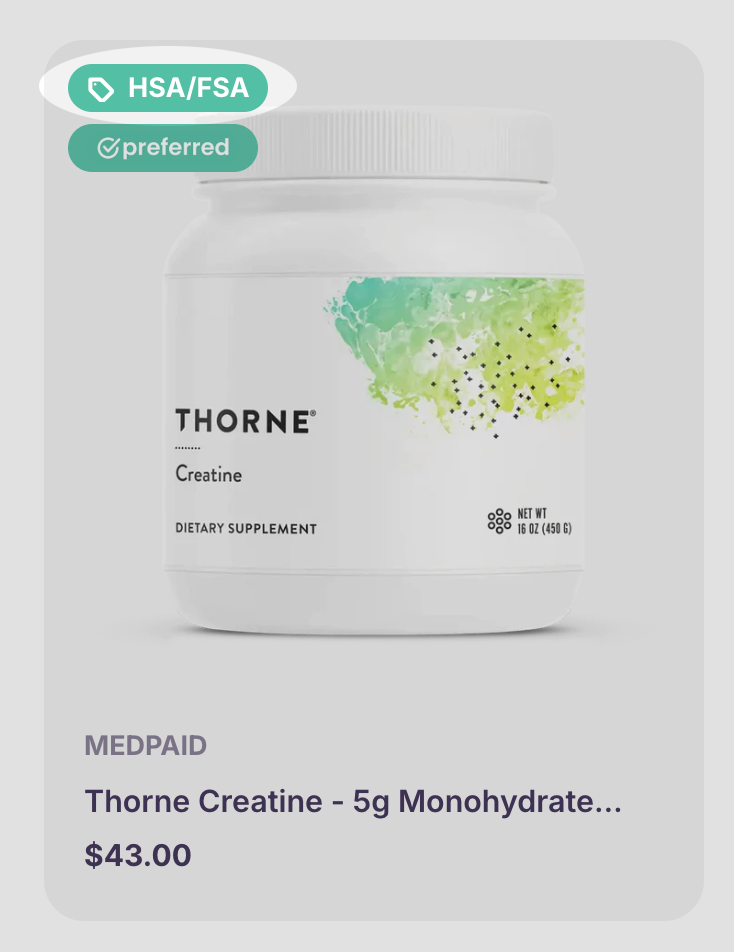
Show the HSA/FSA Badge Automatically
Medpaid flags eligible products via a boolean metafield (same metafield definition used in PDP widget— skip if you have already set this up). When it’s True, your theme displays the “HSA/FSA” tag on the product and in collections.
1
Prerequisites
- Install the Medpaid app from the Shopify App Store and connect your account.
- Then push your products you want approved to the Medpaid back office through the Medpaid app. Approved items will be marked in your store with the HSA/FSA badge once display settings are live in your theme code.
Installing the app automatically creates an unstructured product metafield that we’ll update into a proper structured definition.
2
Update the Medpaid metafield into a structured definition
- In Shopify admin go to Settings → Metafields and Metaobjects → Products → View unstructured metafields.
- Find the metafield named Medpaid or contains
medpaid.isHsaApprovedand click "add definition."
Then set:- Name: Medpaid HSA/FSA Badge
- Namespace & key (if missing): (copy below)
- Type: True or false (One)
- Under Options, toggle ON:
- ✅ Use as a condition in smart collections
- ✅ Storefront API access
- Click Save and confirm to Publish. This updates it from unstructured to the main Product metafield definitions.
- Go back to Settings → Metafields and Metaobjects → Products, refresh, and verify the definition appears.
Namespace & key
If you don’t see the definition under unstructured metafields, the definition may not exist yet and needs to be set up.
Check Settings → Metafields and Metaobjects → Products → Unstructured product metafields. If it’s not listed, click Add definition under Metafields → Products,
enter the fields above exactly, and Save.
3
Add the Medpaid HSA/FSA badge snippet
- In Shopify admin go to Online Store → Themes → … → Edit code.
- Under Snippets, click Add a new snippet and name it
medpaid-hsa-badge.liquid - Paste the code below into the new snippet and click Save.
This snippet checks the structured metafield
medpaid.isHsaApproved.
When it is true for a product, the HSA / FSA badge appears. Otherwise, nothing is rendered.
4
Add the HSA/FSA badge styles
- Open your main stylesheet (commonly base.css, theme.css, or style.css) under Assets.
- Paste the base CSS below at the bottom of the file and click Save (customize color, size, margin, etc. as needed).
The styles use theme variables like
--font-body-size and --badges-radius when available, so the badge blends in with your existing design.
5
Render the HSA/FSA badge anywhere
- Add the render line
Use the same render call below anywhere you want the badge to appear via theme code placement or custom liquid block in site editor.
Copy this line into your theme:
Common places to add the badge:
In different themes, you may find the right spot in one of these:
sections/main-product.liquidorsections/product-template.liquid(main product page layout)snippets/product-badges.liquidorsnippets/product-card-badges.liquid(central badge partial)snippets/card-product.liquidor similar card product snippet used in collections
Example 1: Product page (PDP)
{% comment %}
Inside your main product section, near the title and price
{% endcomment %}
Example 2: Badge container snippet
{% comment %}
Inside product-badges.liquid or product-card-badges.liquid
{% endcomment %}

  {% render 'medpaid-hsa-badge', product: product %}

  {%- comment -%} Existing theme badges can stay below {%- endcomment -%}
  {% if product.compare_at_price > product.price %}
    Sale
  {% endif %}
QA checklist:
✅ On an eligible product (
✅ On an ineligible product, the badge is hidden everywhere.
✅ The badge layout looks clean on both desktop and mobile.
✅ On an eligible product (
medpaid.isHsaApproved = true), the badge appears on both the product page and any product cards where you added the render line.✅ On an ineligible product, the badge is hidden everywhere.
✅ The badge layout looks clean on both desktop and mobile.


