

Shopify Merchants: Add the Medpaid HSA/FSA Widget to Your Product Pages
Placing clear HSA/FSA payment instructions directly on the product page is the most effective way to boost conversions and help shoppers realize they can use pre-tax dollars. Showing HSA/FSA card or reimbursement options before checkout meaningfully increases purchase completion.
This guide adds the Medpaid widget via the product page template using a Custom Liquid block—no theme file editing required.
Step 1. Set Metafield Definition
Medpaid flags eligible products via a boolean metafield. When it’s True, your theme can automatically apply widgets and/or badges to products based on eligiblity.
Watch: Configure the Medpaid metafield & widget
Prerequisites
- Install the Medpaid app from the Shopify App Store and connect your account.
- Then push your products you want approved to the Medpaid back office through the Medpaid app. Approved items will be marked in your store with the HSA/FSA badge once display settings are live in your theme code.
Update the Medpaid metafield into a structured definition
- In Shopify admin go to Settings → Metafields and Metaobjects → Products → View unstructured metafields.
- Find the metafield named Medpaid or contains
medpaid.isHsaApprovedand click "add definition."
Then set:- Name: Medpaid HSA/FSA
- Namespace & key (if missing): (copy below)
- Type: True or false (One)
- Under Options, toggle ON:
- ✅ Use as a condition in smart collections
- ✅ Storefront API access
- Click Save and confirm to Publish. This updates it from unstructured to the main Product metafield definitions.
- Go back to Settings → Metafields and Metaobjects → Products, refresh, and verify the definition appears.
Namespace & key
Verify your metafield settings (screenshot)
Your settings should match the example below: boolean True/False type, and both Storefront API access and Use as a condition in smart collections enabled.

Step 2. Install the Medpaid widget on your product pages
Follow these short steps to add the HSA/FSA eligibility widget to your Shopify product pages.
-
1Add the Medpaid widget with a Custom Liquid blockIn Online Store → Themes → Customize, open your product template, add a Custom liquid block beneath the Add to cart block, then paste one of the scripts below and save.
Reimbursement Style Widget
Pay with HSA/FSA Style Widget
-
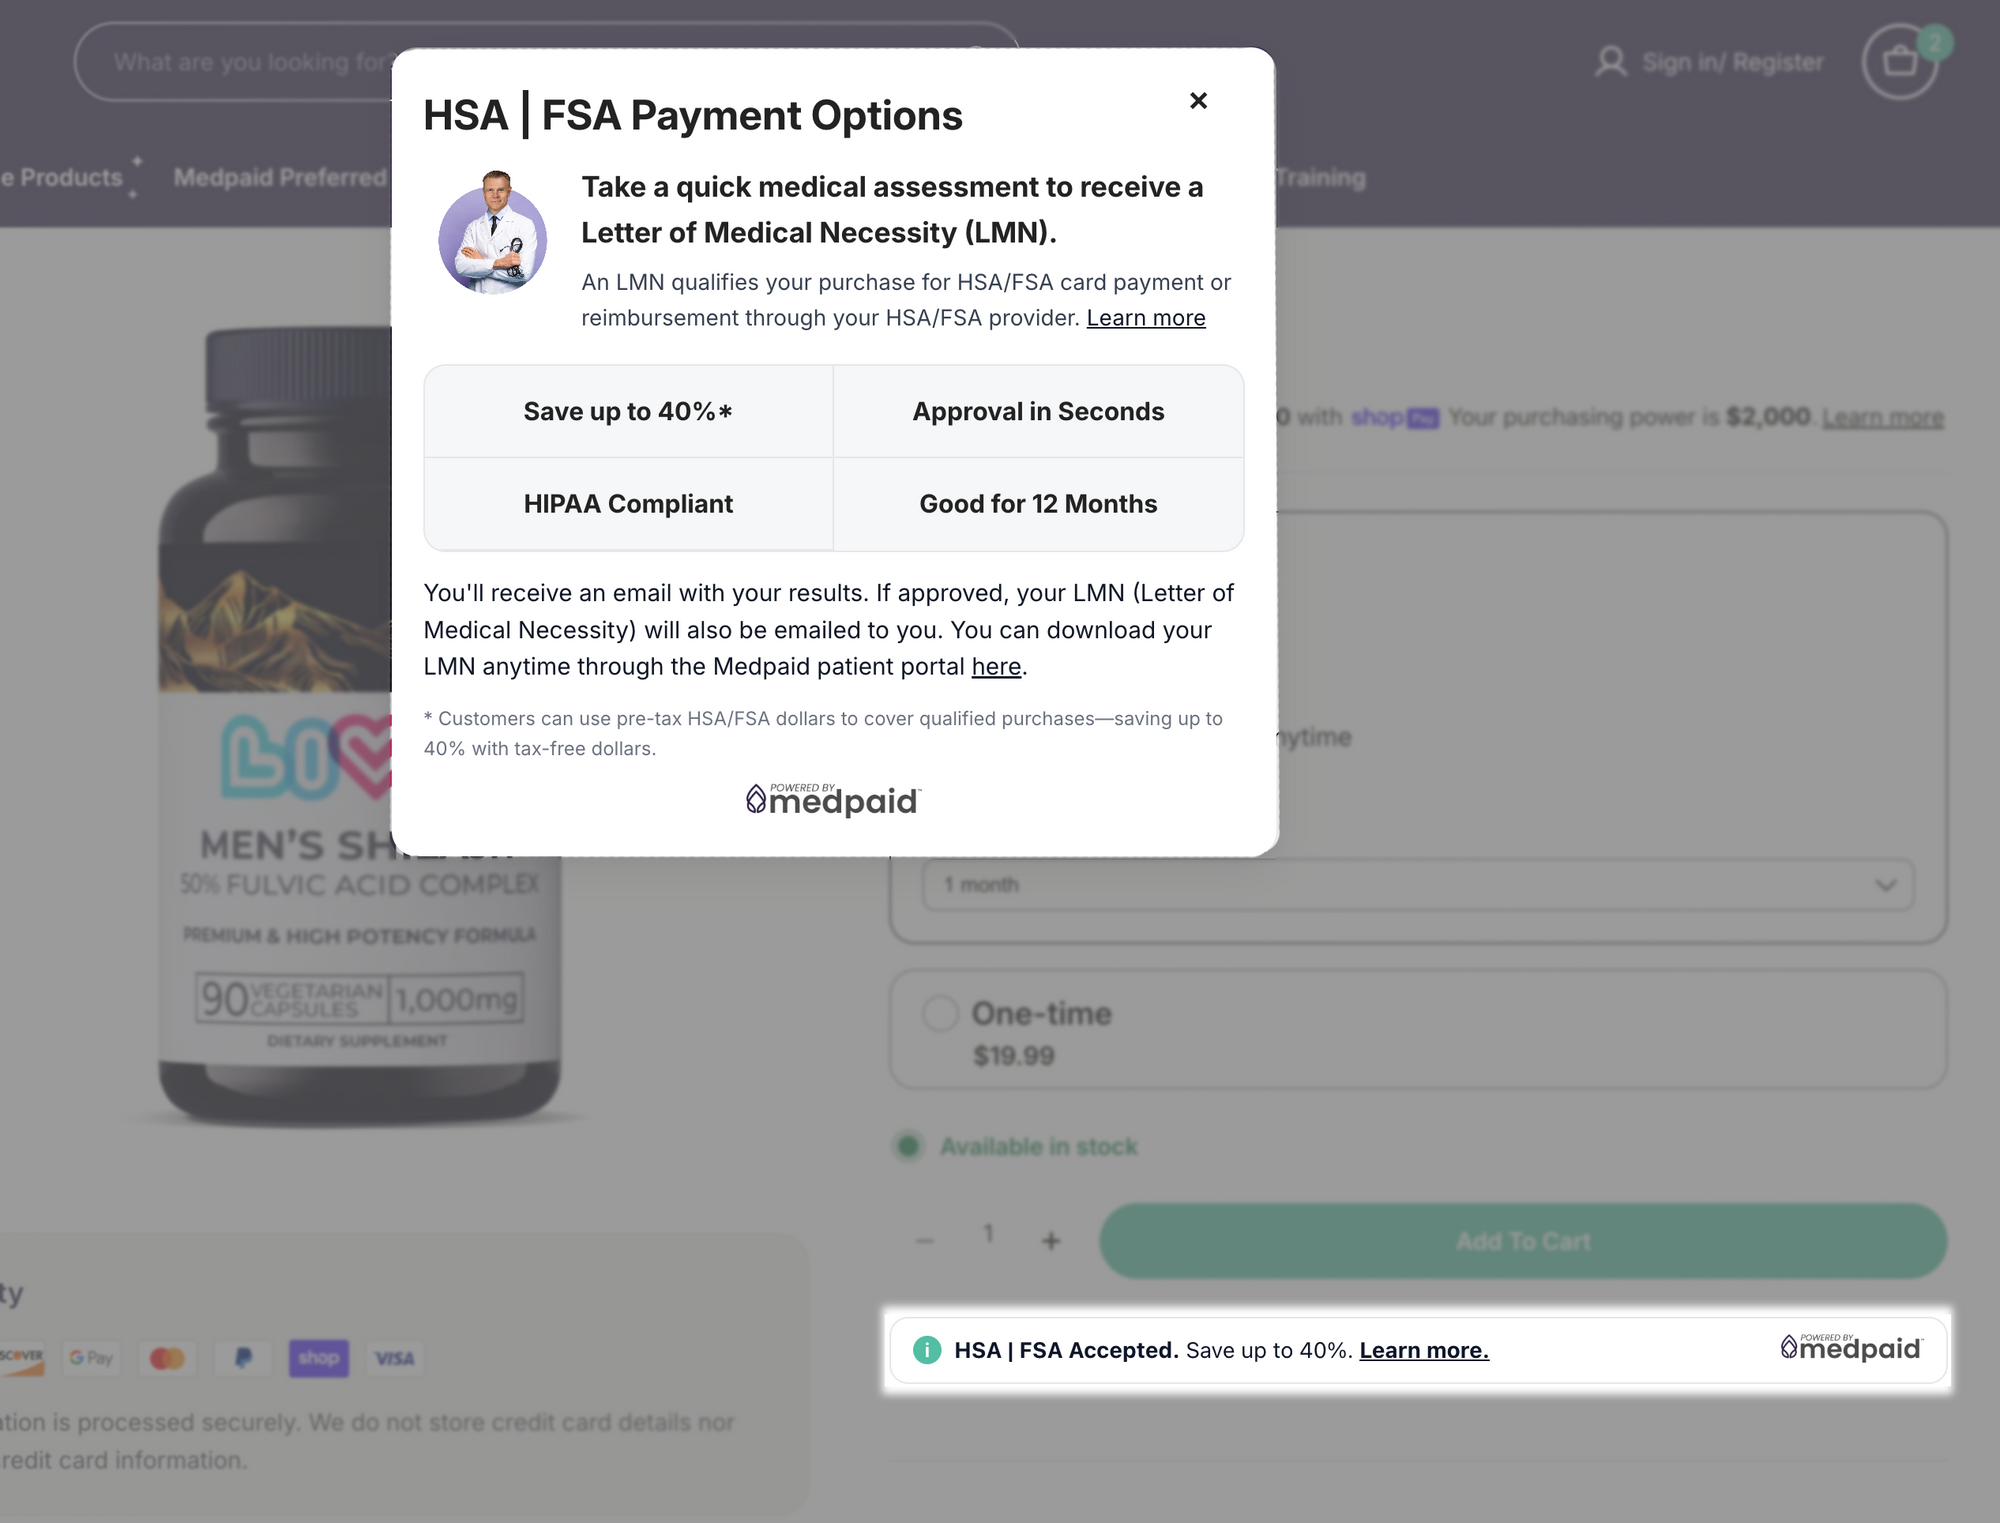
2Test and verifyEligible
On a product with
medpaid.isHsaApprovedtrue, the banner shows under Add to cart and the modal opens.IneligibleOn a product without that metafield set to true, the banner and modal are not rendered.
QACheck both mobile and desktop. Ensure the modal overlays content and scrolling is smooth.


